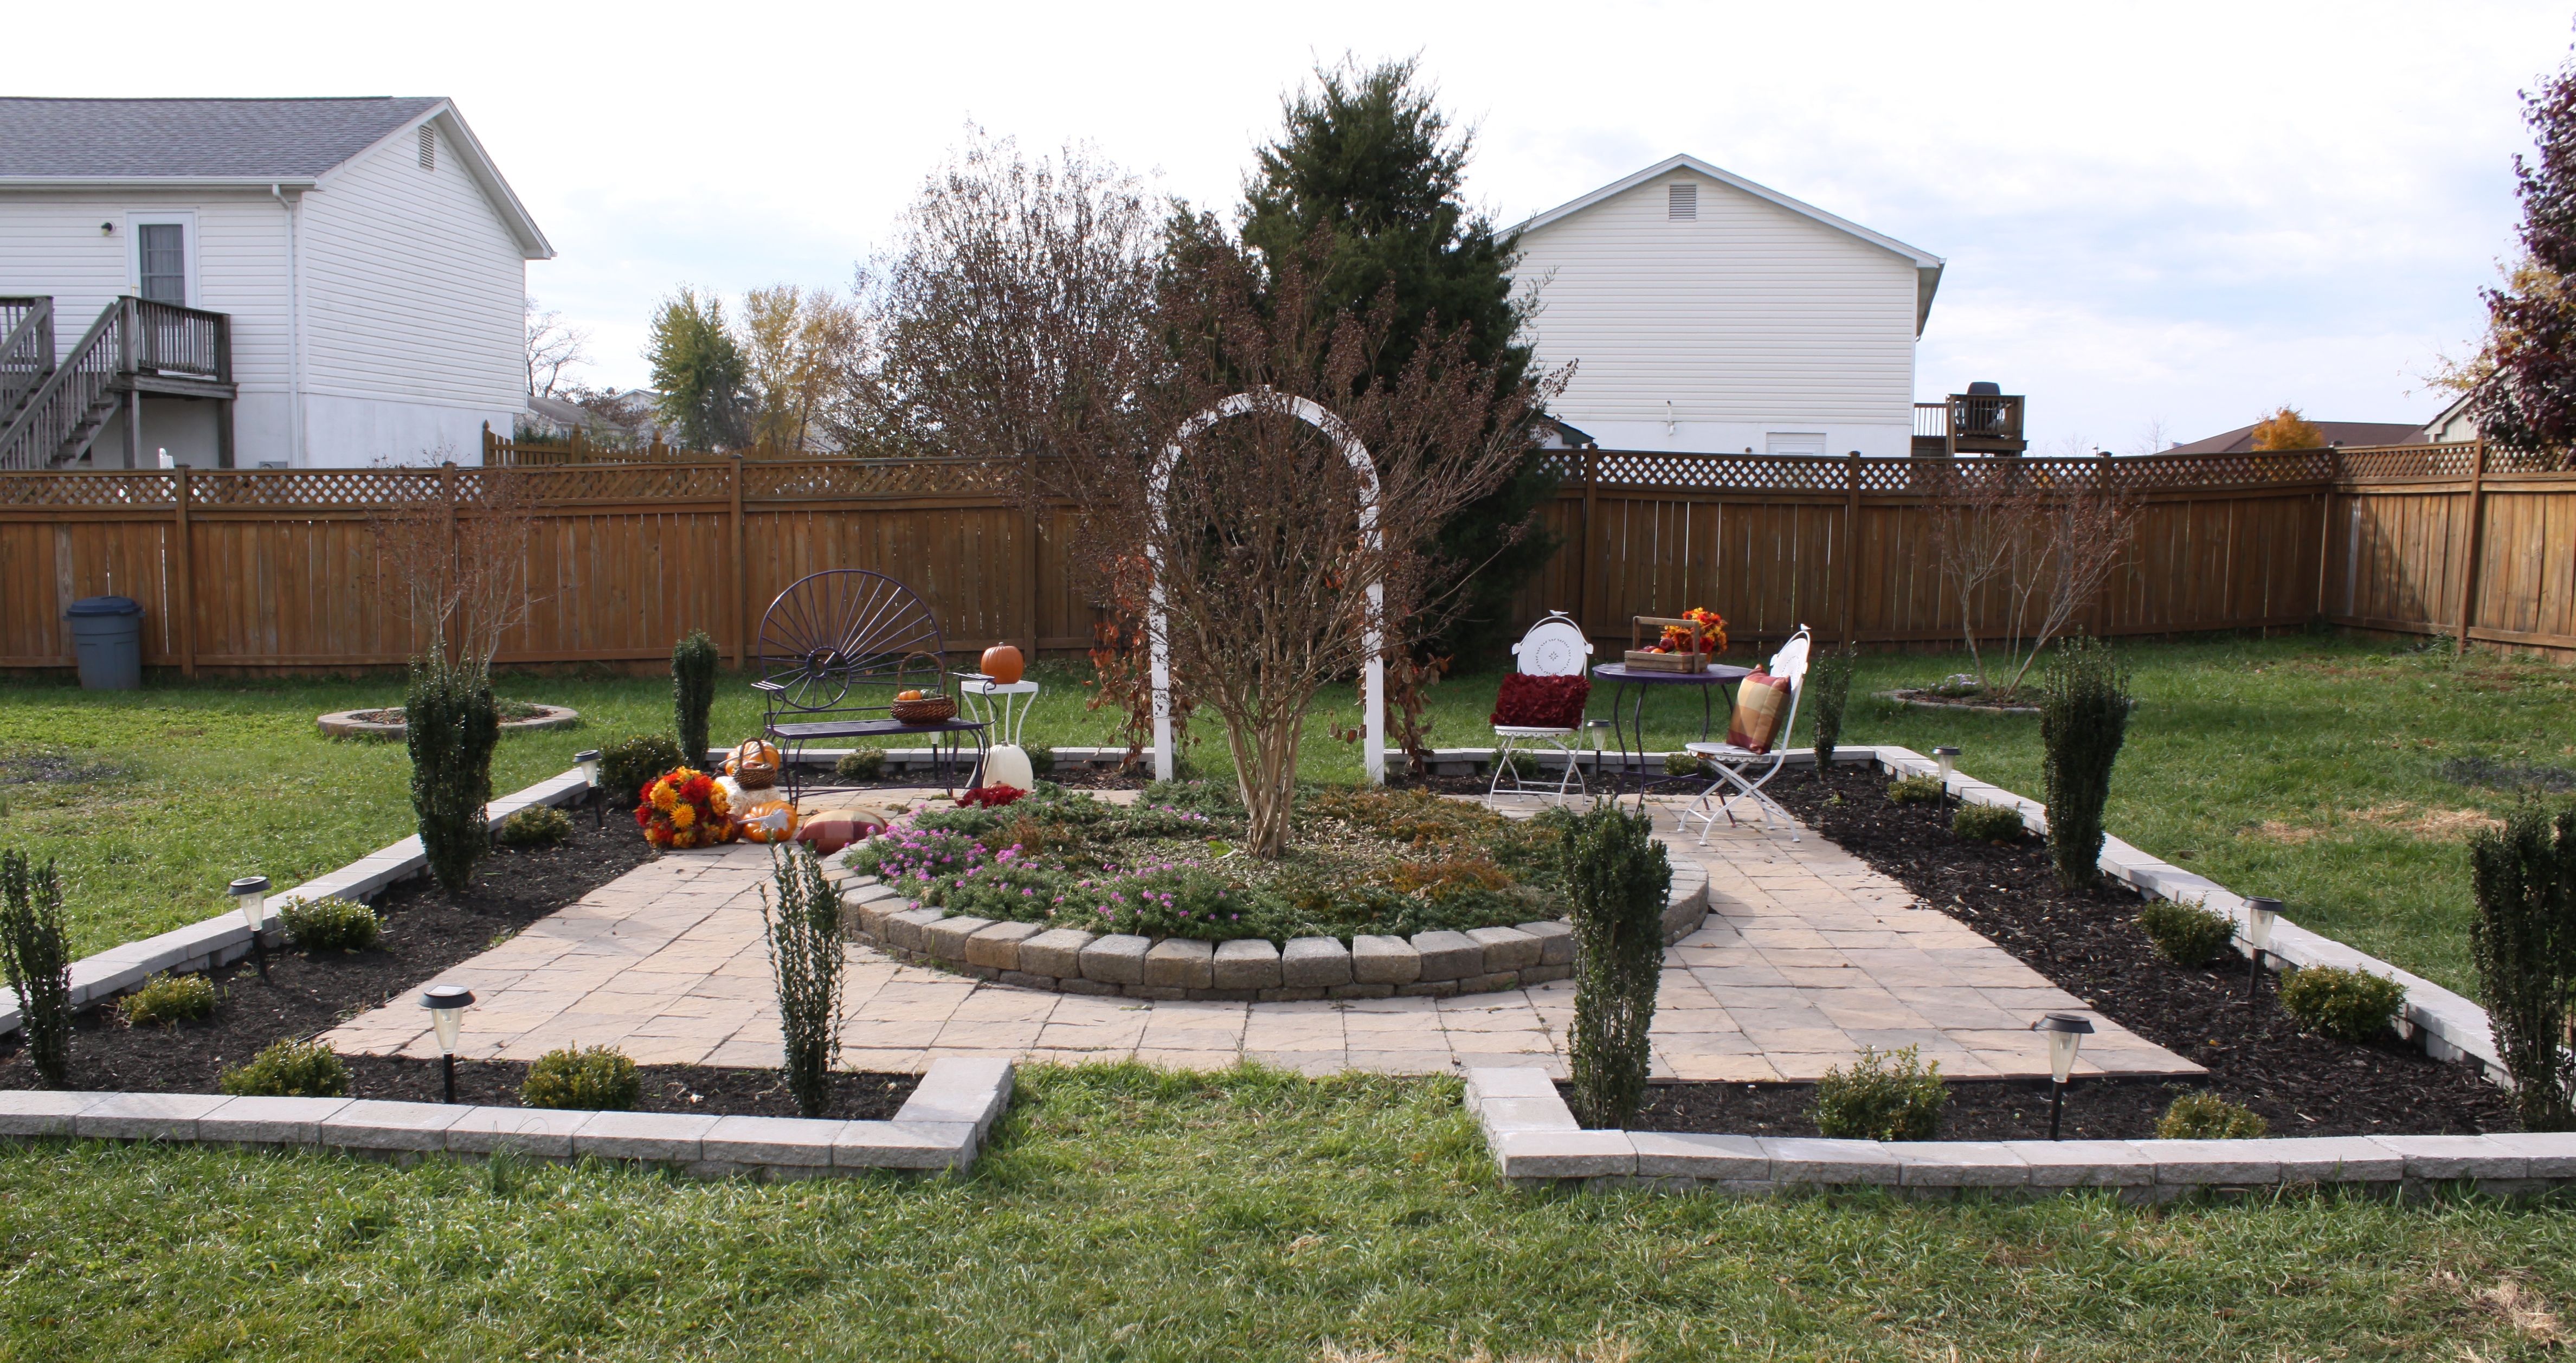
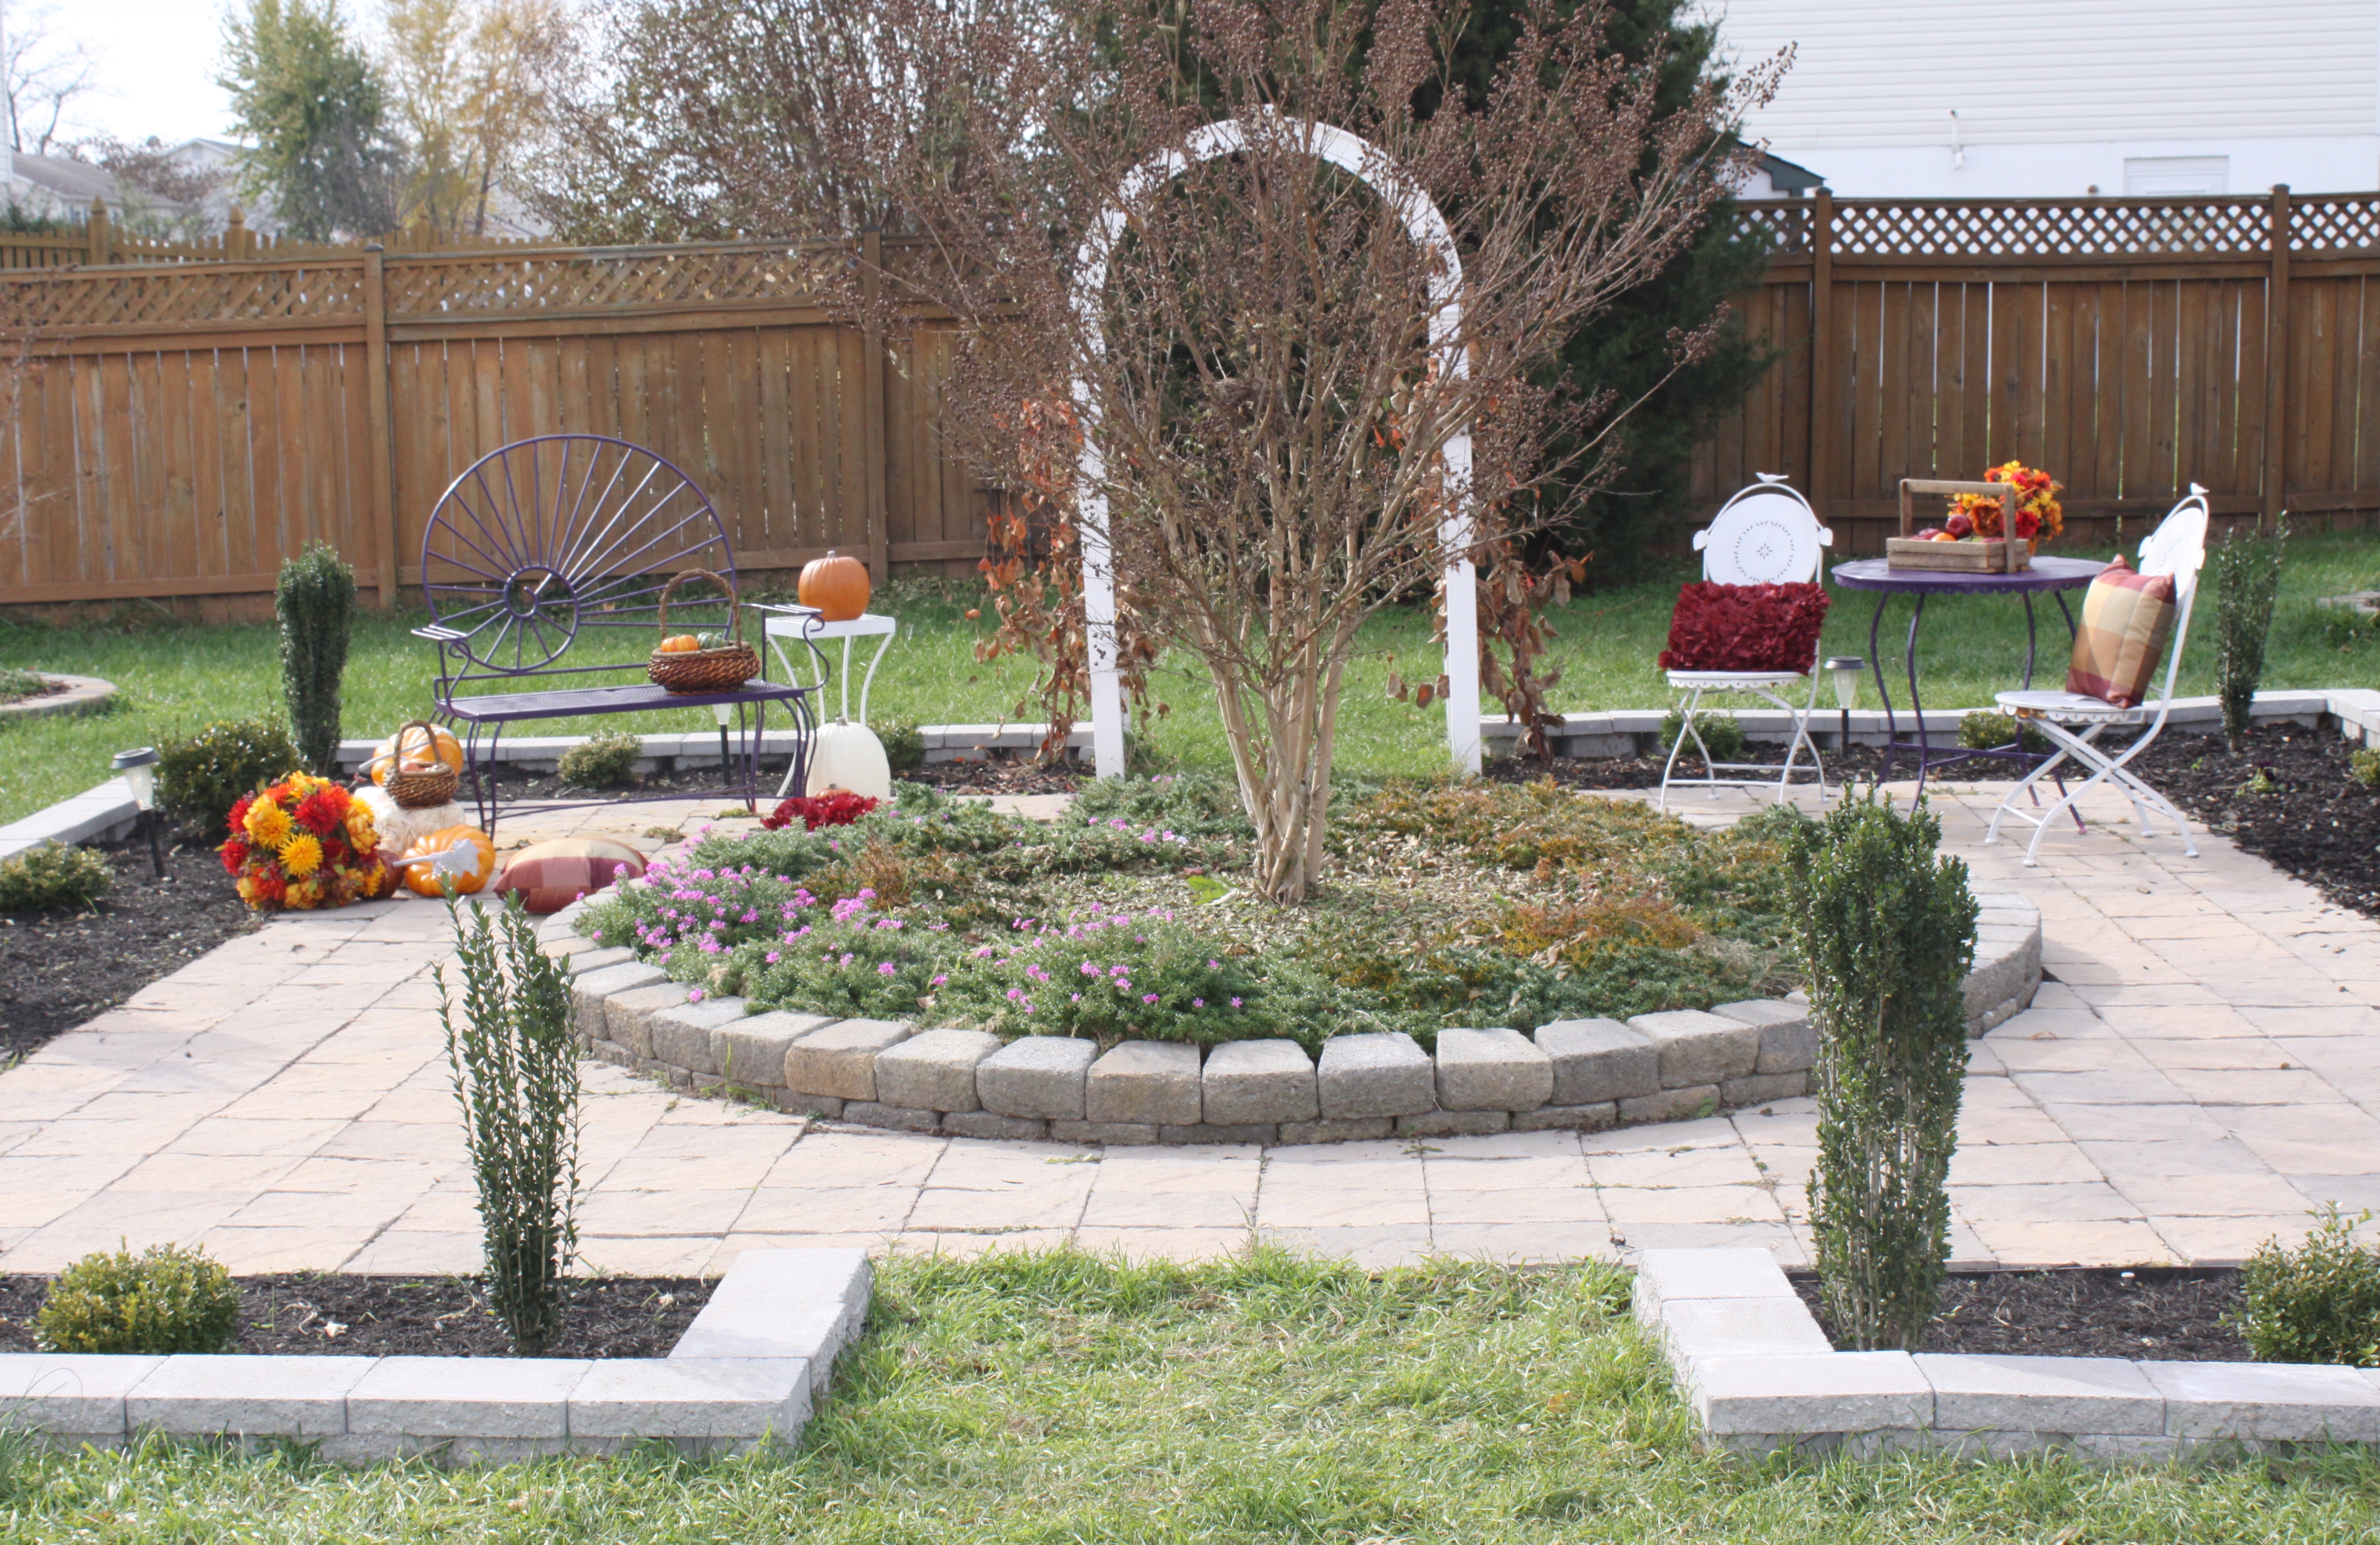
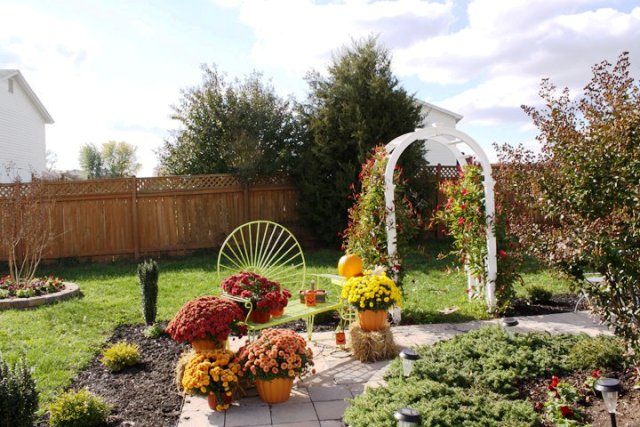
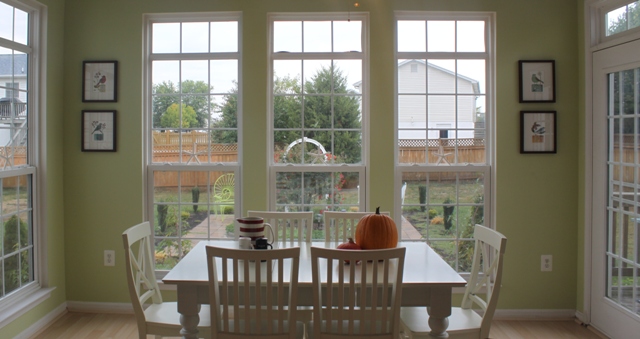
The deck off of my studio is small, but I still find ways to load it up with color. It’s a great place to enjoy a cup of coffee or iced tea and watch the dogs play in the garden.
View From My Studio
Nothing better than taking a break from painting to take in this view. I designed this patio, and my brother, sister-in-law, nephew, niece, daughter, and I did all the heavy digging, lifting, placing of bricks, and planting. It was lots of work performed twice a year–spring and fall–over the past three years but the results have been well worth the effort. It’s fun watching my five dogs play or just mill around the garden while I cook or paint. Plus it makes for some awesome photo ops of my dogs (more on that later).
My Studio
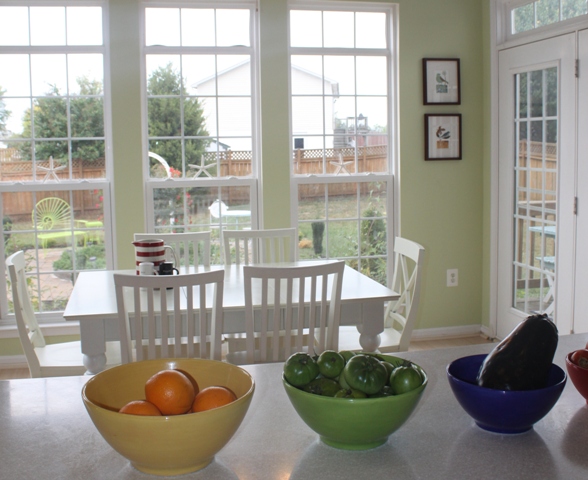
I’ve chosen the kitchen as my studio because lots of fabulous food is generated (and eaten) here, it’s sunny and warm, it has a great view of my garden (more on that in my next post), it has great lighting, and its open layout allows me to chat with my daughter and mother while I work. Plus, the large table provides plenty of room to spread out and a place for other would-be artists to join in on the fun (like my 5-year-old niece, Dani, who’s visiting today).
Here are a few shots of my kitchen studio.
Experimenting With My New Tools
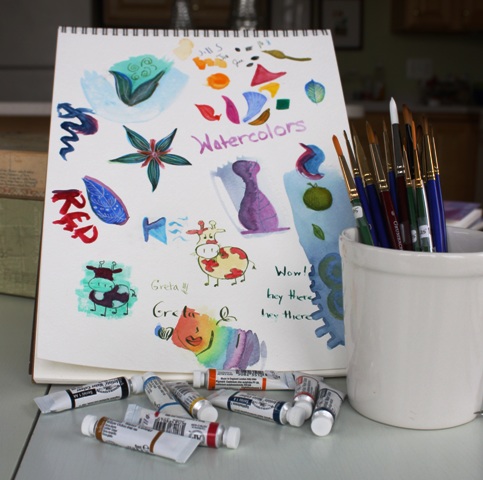
The first thing I did when I unpacked my art supplies was to grab a sheet of watercolor paper and start experimenting. I wanted to try out my tools to see what they could do. So I grabbed a cup of water and a couple sheets of paper towels, picked up a paint brush, and got down to business. It wasn’t long before my daughter, Greta, joined in.
So we stood there at the breakfast bar at 9:00 pm, still in our work clothes, and played. We tried wet-on-wet techniques (wetting the paper before paint is applied), dry painting techniques, using the paint straight from the pans or tubes, mixing colors, layering colors, adding ink details after the paint dried, adding ink first and applying paint afterward, layering multiple washes of paint, and lifting sections of paint with paint brushes or paper towels. Here’s the end result of our little play session:
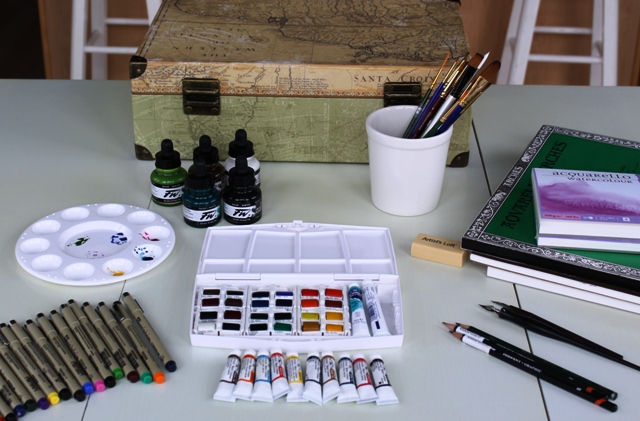
A Peek Inside My Toolkit
Look at all these beautiful art supplies and the pretty box in the background where I plan to store them. I can’t wait to get started.
My Shopping List
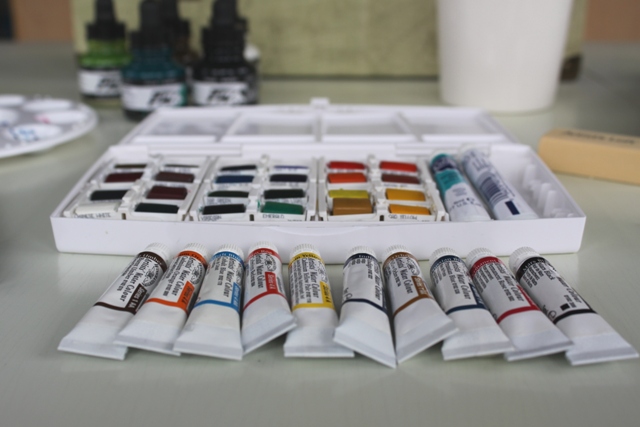
Once I decided to use watercolors as my medium I visited several of my favorite art forums and blogs and assembled a list of materials to help me get started. I purchased watercolor paint in both half pan blocks and tubes since I didn’t know which product would work best for me. Here’s a peek at my shopping list:
- Cotman Watercolors by Windsor & Newton–#654 Turquoise, #538 Prussian Blue, #322 Indigo, #502 Permanent Rose, #095 Cadmium Red Hue, #089 Cadmium Orange, #118 Cadmium Yellow Pale Hue, #744 Yellow Ochre, #076 Burnt Umber, #731 Windsor Yellow Deep, #489 Permanent Magenta, #672 Ultrarmarine Violet, #379 Manganese Blue Hue, #637 Terre Verte, #311 Hooker’s Green, #447 Olive Green, #074 Burnt Sienna, #507 Pereylene Maroon, #554 Raw Umber, #465 Payne’s Gray, #217 Davy’s Grey, #331 Ivory Black, and #150 Chinese White
- Daler-Rowney FW acrylic ink in Burnt Umber, Evergreen, Olive, Black, and White
- Koh-i-nor ink nibs and holders
- Pigma micron 05 pens color set – 16 pens
- Derwent 6H drawing pencils
- Windsor & Newton Cotman Watercolor Round Series paint brushes in various sizes
- Windsor Newton water color art masking fluid
- Acquarello Watercolor Artistico Extra White 100% Cotton (Grana Satinada Hot Pressed) paper by Fabriano
- Aquarelle Fontenay 100% Cotton paper (Fine Grain, Cold Pressed) by Canson
- Ultra-slim Light Panel light box by porta-trace
I found some of these items at Michael’s craft stores, some at a Benjamin Moore Paint store that had an interesting artist’s loft upstairs with a small selection of art supplies (and a coffee bar), and the remaining items at www.DickBlick.com. All totaled, this was quite an investment. The final bill was well over $500.
Good Afternoon!
For the past 20 years I’ve earned a living as a professional artist generating computer graphics for a variety of clients and corporations. I haven’t picked up a paintbrush in years. But recently I’ve felt a strong urge to get back to basics and create art the old fashioned way–with paints and a paintbrush. So here I am with my first post on my new art blog. I’ve chosen to focus on watercolors because I love their transparency and versatility and mostly because I’ve never used this medium before and wanted to try my hand at something new. I love a challenge.
But first I had to assemble my artist’s toolkit. So I visited my favorite art blogs and made a list of the tools of the trade and began to assemble my kit. It took me a while to acquire all the items on my list. There aren’t many brick and mortar art supply stores in my area. I wanted to be able to see and touch my art supplies, to hold them in my hands and try them out before I purchased them. I found most of what I needed at a local art supply store and two different craft stores, but had to purchase the remaining items online.
It wasn’t a cheap undertaking. At each store I spent about $150.00. That brings my total initial investment to about $500.00 spent over the course of several weeks. But enough of this babble. It’s time to jump in with both feet–or both hands in this case. So, sit back, grab a cup of coffee, and follow along as I explore this new medium. I hope you enjoy my work. I look forward to your feedback and comments.

